Do you ever wake up and wish to get a new aesthetic and trendy nail art, but you do not have ample time?
In today’s hustle and busy daily schedules, who has time to go through procedures that can take hours in a salon?
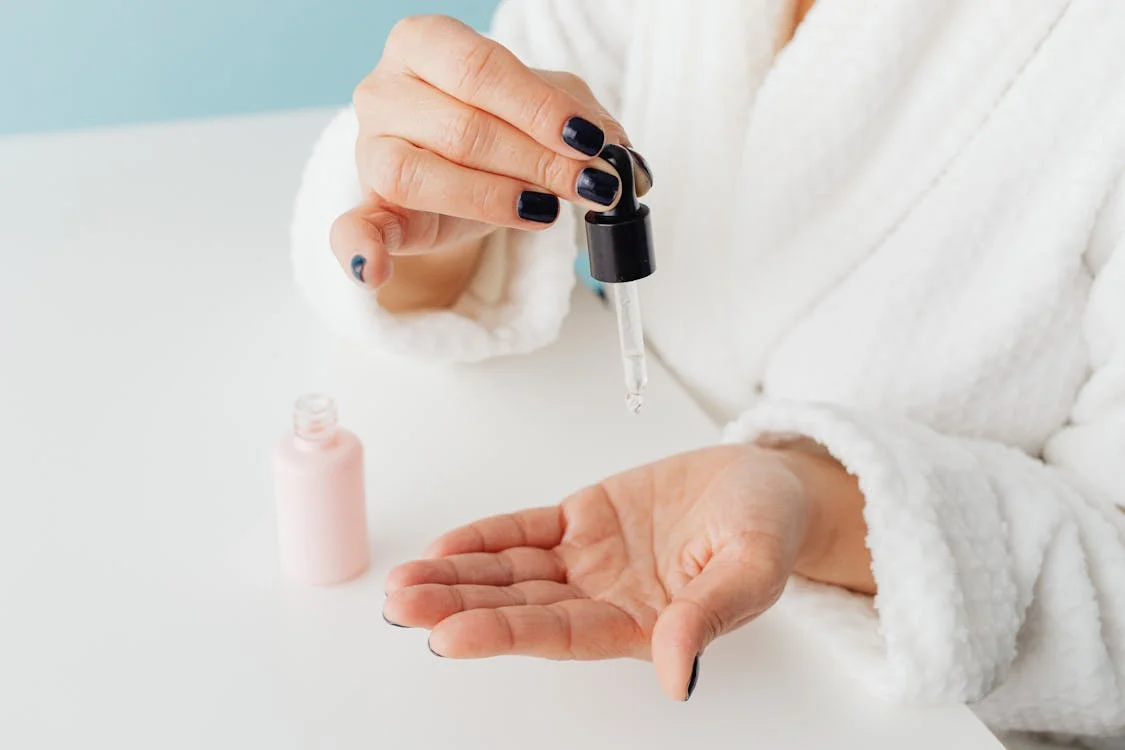
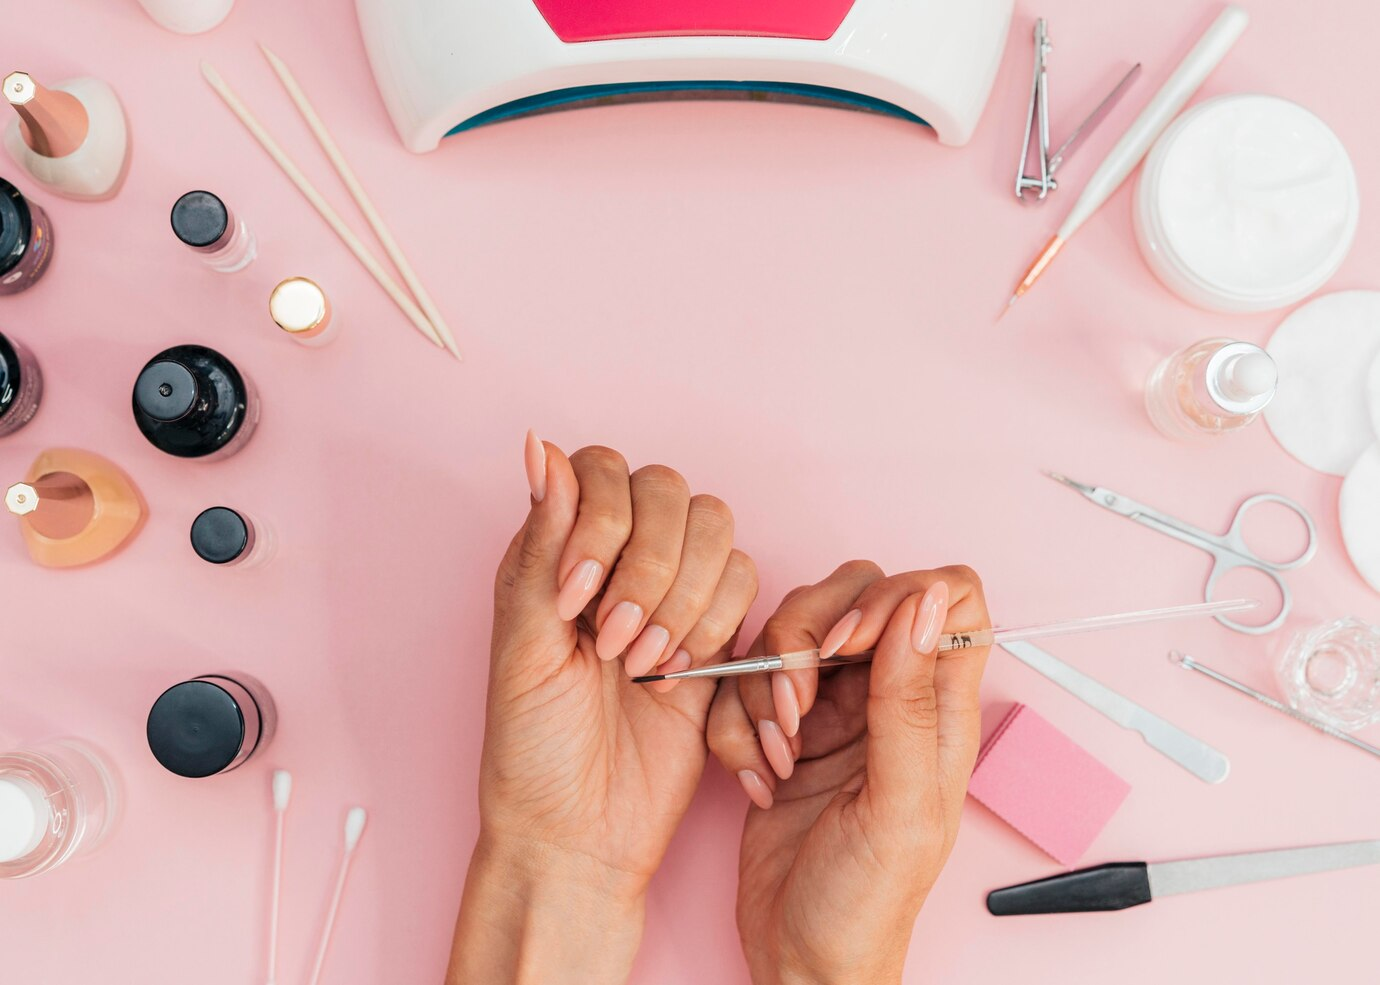
Fortunately, there is no need to do this since you can have fabulous nails and still have time for other activities. To give you the basic know-how, you can create fabulous nail art at your home in half an hour or less.
Whether it is a night out or simply adding some flair to your day, quick and innovative patterns are perfect for making a plain nail artistic in a snap.
From cute polka dot designs to elegant half-moon tips, these nail art designs are easy and can be easily modified to suit any occasion.
Let’s brief you about some nail art designs that can be done in under 30 minutes.
1. Simple Dots
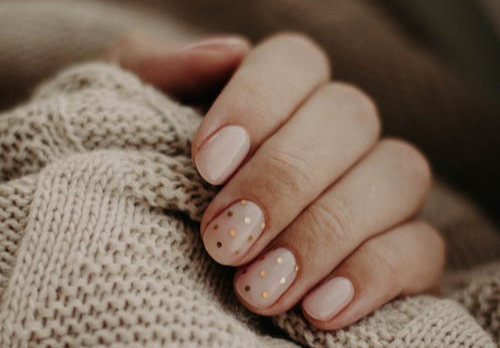
Simple dots are the perfect nail art design for when you wish to bring a simple appeal to your nails but do not have ample time to spare.
Start by applying a base coat to enhance the longevity of the manicure. Paint each nail with a thin layer of the main color polish and allow it to dry out in the natural environment or using a UV lamp.
Once it is dry, use a dotting tool or toothpick to poke it into a different varnish color. Place a dot on each nail delicately, and in terms of the size and arrangement of the dots; you can go with an irregular pattern so as to give the manicure a playful look.
After the nails are dried, use clear varnish to cover your design and give it a shiny finish. This nail art is the best fit when you are in a hurry but would want to have something trendy and fun that anyone would like to have a glimpse at.
2. Accent Nails
Accent nails are a trendy, gorgeous, and artistic method for adding beauty to nails. Before you begin, paint the nails with a coat for better adherence.
After that, select one primary color and apply it uniformly to your nails. When the primary color dries out, choose one or two nails on each hand that will be your accent nails.
Coat these accent nails with the polish of the contrast or complementary color. Let the accent nails dry before applying the topcoat over all the nails to give them a shiny finish and seal the design.
Not only does this technique look professional, but it also makes your nails stand out and allows for some originality.
3. Gradient Ombre
Painting the nails with a gradient ombre can be tremendous and eye-catching. After applying the base coat, select two or three nail polish colors that go well together.
Paint the base color on your nail and allow it to dry completely. After that, grab a makeup sponge and apply the various polish colors in a striping motion.
Press the sponge lightly on your nail and then glide the sponge from one color to the other until the whole nail is covered. When you get the gradient that you want, take a brush or a cotton swab, dip it in nail polish remover, and wipe across the line to get rid of the excess polish.
Conclude the steps by applying a clear coat to set the gradient and add shine to your nails.
4. Striped Nails
Striped nails are one of the popular designs that can be done quickly. Choose your desired base color and apply it evenly across your nails.
After the base color dries, use nail striping tape to form straight lines. Position the tape in the chosen pattern and make sure it is firmly applied to the nail.
Place the second layer of polish over the entire nail, including the taped area. Allow the polish to dry, and then peel the tape to get the striped effect.
Finally, for your stripes to last long, apply a clear gloss.
5. Glitter Nails
Glitter tips are a great way to give your nails some glamor. This design can be worn on a regular working day or any other event where you would want to feel a bit fancy.
Start by applying a primer coat to your nails. Decide on a color that will be your first layer, and paint all your nails with it.
When the surface is dry, add the glitter. Depending on how you want your artwork to appear, you can use either less or more glitter.
Allow the glitter to set, and on top of it, apply a clear coat to seal the glitter.
6. Half-moon Nails
Half-moon nails have an elegant and minimalist look, which makes them ideal for those who like to keep it simple.
Start off with a base layer and allow the nail tips to dry. Then, apply tape or nail stickers right up to the tips, leaving a slight curve in the cuticle area.
Paint another color over the nail bed region. Afterward, let it dry and neatly peel off the tape or stickers to obtain the half-moon shape. Lastly, a clear coat is applied to secure the design.
Conclusion
Whether you are a beginner or an expert in nail styling, these nail art designs are your passport to fabulous and glamorous nails in less than half an hour.
From polka dot to half-moon, there is a design for every person, no matter whether they like to keep it simple or go extra.
To embrace creativity, let these designs turn your nails into a set of art that would reflect your personality.