
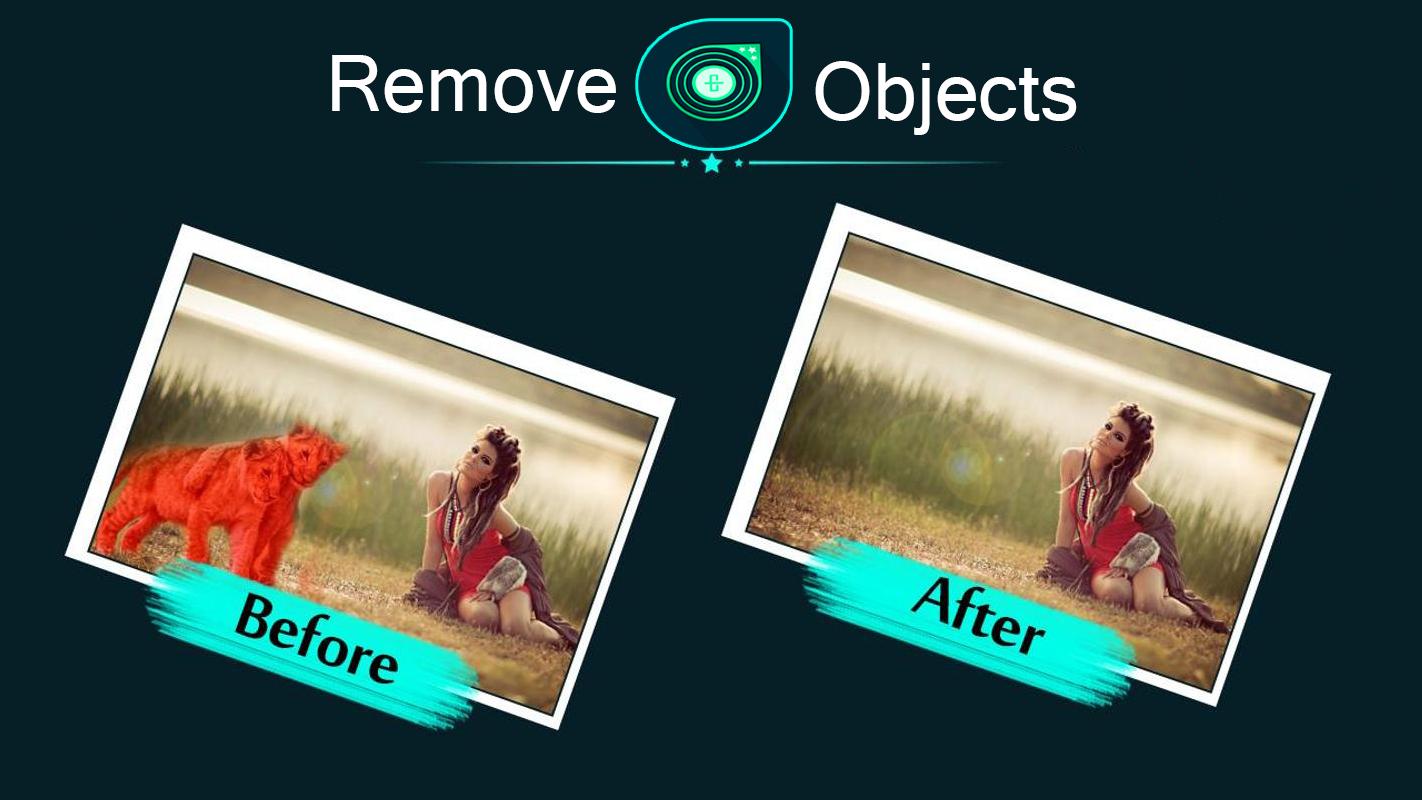
In the realm of photography, not every picture you click is perfect. Unwanted objects in a photo can disturb its overall look, as they do not look appealing.
You can effectively remove objects from an image to make them more attractive.
This comprehensive article includes a step-by-step process to help you clean up your images, ensuring that nothing detracts from your perfect shot.
Step 1: Assess Your Image
Take a minute to evaluate the picture carefully before starting the process of removing objects from your photos. List all the components that, in your opinion, detract from the composition or are distracting. Determining which items to remove from the photograph’s main subject is crucial, as is understanding how their removal might change the composition’s overall balance and visual appeal.
Step 2: Understand the Background
The degree of background complexity greatly influences the degree of ease or difficulty of item removal. A consistent background—a wall or a clear sky, for example—makes removal easier and less complicated. However, to preserve a natural appearance, a complicated background with a variety of patterns or features has to be altered with more care.
Step 3: Create a Duplicate Layer
Working on a duplicate layer of your image is the next step once you have determined which elements are undesirable and have a clear understanding of the background. This procedure is crucial since it protects the original image and lets you go back to it when necessary. Using your picture editing program, you can quickly make a replica by cloning the original image layer.
Step 4: Select the object
Carefully highlight the undesirable object with a selection tool. The accuracy of your choice is essential; a sharp edge contributes to a more believable edit. You may use a variety of selection tools, such as the brush selection for tighter control or the lasso tool for freeform forms, depending on the size and shape of the item.
Step 5: Remove the object
Remove the item after selecting it. Usually, to fill in the gap left by the deleted object, a fill function that considers the surrounding portions of the picture can be used. This method effectively hides the region where the item used to be by blending the surrounding pixels seamlessly.
Step 6: Refine the Edges
Certain edges could vary from the background exactly when the item is gone. To hide any discrepancies, use a clone stamp to manually choose adjacent regions and merge these borders carefully. This is a critical step in preserving the photograph’s natural look and preventing any glaring editing effects.
Step 7: Adjust Colors and Details
Sometimes moving an object around may change the color scheme or lighting in the space it occupies. To guarantee that the altered region blends in with the rest of the shot, counterbalance this by adjusting the saturation, contrast, and brightness. Depending on how intricate the backdrop and lighting are, this might require some labor-intensive color correction.
Step 8: Sharpen the image
Details can occasionally be softer in an edited photo. Use a sharpening filter on your photo to bring it back to clarity. Take care not to overuse the sharpening; this might produce an unrealistic or gritty quality in the picture. Use the filter sparingly, paying particular attention to regions that may have become less defined during the editing process.
Step 9: Final Review and Touch-ups
Go through your altered photo in detail. Examine it at multiple sizes and perhaps on different devices to ensure the modifications look well in a range of viewing scenarios. This last check is important since it’s normal to discover minor flaws that were missed in previous stages.
Step 10: Save Your Work
Save your work after you’re happy with the cleaned image. It is best to save the revised image as a new file while keeping the original unaltered. By doing this, you can compare the before and after versions and assess the impact of your edits while also protecting the original.
Tips for Successful Object Removal
Removing unwanted objects from photos can be a meticulous process, but with the right approach, you can achieve seamless edits that enhance your images. Here are some essential tips to ensure successful object removal:
Practice patience and precision.
Object removal requires patience and precision. Take your time to carefully select and edit each area. It ensures accurate results without rushing the process.
- Zoom In for Detail: To guarantee accurate editing and work on fine details, enlarge your image. With this close-up perspective, you may detect flaws that you would miss at standard viewing sizes and fix them.
- Use Undo and Redo: As you proceed through the editing process, don’t be afraid to utilize the undo and redo options. With the help of these tools, you can go back and make changes as necessary to ensure a professional outcome.
Select the right tool for the job.
- Assess the Object: Determine the shape, size, and complexity of the object you want to remove. Choose the appropriate selection tool based on these factors, such as the lasso tool for irregular shapes or the clone stamp tool for fine details.
- Experiment with Tools: Don’t hesitate to experiment with different editing tools to find the most effective solution for each removal task. Some objects may require a combination of tools for the best results.
Pay attention to the surrounding details.
- Blend Seamlessly: When removing an object, pay close attention to the surrounding areas to ensure a seamless blend. Use feathered selections or soft brushes to blend edges smoothly into the background.
- Maintain Consistency: Complement the modified area’s texture, lighting, and color with the whole image. To keep things consistent and prevent overt manipulation, make the necessary adjustments to saturation, contrast, and brightness.
Conclusion
Eliminating unnecessary components from your images can greatly improve their aesthetic appeal by drawing attention to the right places. A messy, confusing photo can become a polished, compelling image by mastering these stages, even if they require patience and attention to detail. These abilities are essential for mastering the art of picture editing, whether you’re a beginning photographer or an avid enthusiast who wants to produce photographs that appear professional.
Read More: How Using Background Remove Can Revolutionize Your Marketing Materials